Origami Tulip with Stem
Create a bright and pretty origami tulip with our simple tutorial! Perfect for beginners, this fun paper project will brighten up any space.
Skills Required: None. You will use basic folds to make these flowers. Get a video at the bottom of the post showing all the folds.

Bring a touch of spring into your home with this pretty origami tulip! Perfect for both beginners and seasoned folders, this project combines simplicity with elegance, resulting in a charming paper flower complete with a sturdy stem.
Among the many flowers that can be crafted through origami, the tulip holds a special place. Although tulips are not native to Japan, they have become a beloved symbol in Japanese culture.

Tulips embody the idea of fleeting beauty, much like the cherry blossom, which is celebrated in Japan every spring. They only bloom for 5 – 14 days, so they are only enjoyed for a short time.
This sense of appreciating what is in front of us in the moment, known as “mono no aware,” is a core part of Japanese aesthetics and adds a deeper layer of meaning to our paper tulip.

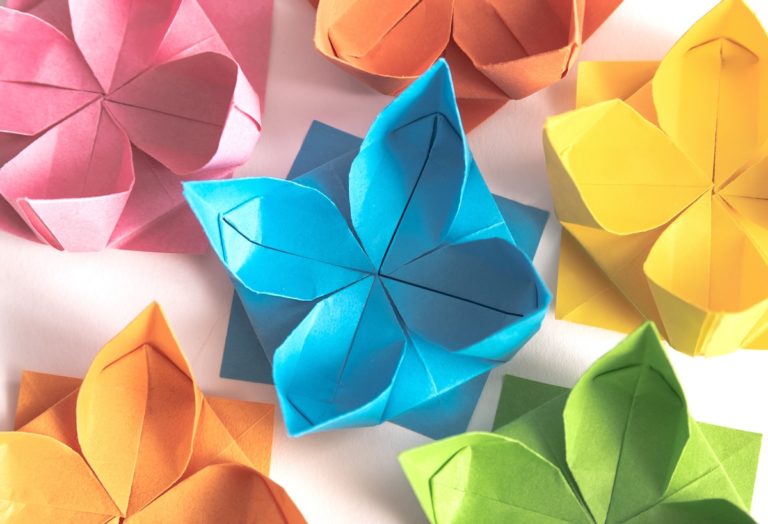
The difference between this paper creation and a real flower is that these pretties are permanent! Make as many as you like in as many colors as you like for a beautiful bouquet. Let’s get started.
How to Fold a Paper Tulip
Begin with a 20 cm (8″) square piece of paper (or size of your choice), colored on one both sides. The size of the paper square will determine the size of the finished flower. My tulip is 6 3/4″ (about 172mm) tall by 4″ (~102mm) at the widest point.
Make the Base Folds
Place your paper on your surface with the points at the top and bottom. Fold in half to make a triangle (shawl fold), then rotate a half turn and fold in half again.

Open the paper up and lay the square on your surface with the colored side facing you. Fold this rectangle in half upwards, and smooth the crease in the middle (book fold).

Unfold the paper. You will use those folds to create a triangle. Push both sides in as shown and then smooth the folds to create a flat triangle .

Start Forming the Flower
You now have a triangle on your surface. On each side of the triangle, pick up the flaps and fold upward toward the center. Crease.

And because it’s fun, you’re going to flip the paper over and do it one more time. Fold in the triangle side flaps on the back up toward the center and crease.

Now you essentially have a paper diamond. Fold the left flap over to the right. Turn over and repeat.

Create the
Now you’re going to rotate the shape on your surface, so the top is the bottom.

Bring the left and right flaps on the paper together. You’re going to insert one flap into the other – in this case, I inserted the right flap into the left.

Turn the paper over to the back and repeat the process on the back.

You’re going to have a hole on one end of your flower (should be the top). Now it’s time to have some fun – blow into the hole to inflate it!

Create the Petals
The shape should look like this when inflated. If you need help, insert a thin object and gently press around

Pull down the four ends to create the petals of the tulip.

Form the Stem
For this step you can use a single or double sided sheet. Fold the sheet in half on the diagonal (shawl fold).

Open back up and complete a kite fold by folding both sides into the center line. Smooth.

Now you’re going to fold in the side flaps again to the center line, making the shape even smaller (reference right pic).

The side flaps get folded into the center one more time! Crease.

Fold the stem in half lengthwise, then fold it in half again as shown.

Add Flower to Stem
Open the stem and adjust the leaf so that it folds out. Place the tulip top on the stem.

You can leave as-is, or glue into place if desired. I made the tulip stand up on a flat surface, but it took some finagling with the stem. You can hold it into place with a glue dot if needed!

Are you ready for the video? Learn how to make the tulip below! Then let me know what you think in the comments.