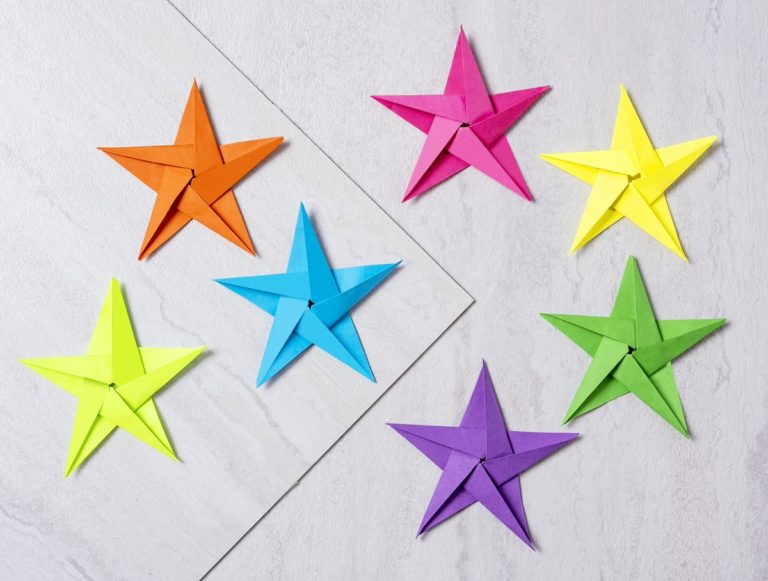
Essential Origami Folds Every Beginner Should Master
New to origami? Start here! Learn 8 essential folds that form the foundation of countless beautiful designs. Perfect for beginners – get step-by-step instructions and tips to master these basic techniques.

Origami is easy! If you’ve never tried it before, or you’ve tried and struggled, I’m going to take you back to the basics today.
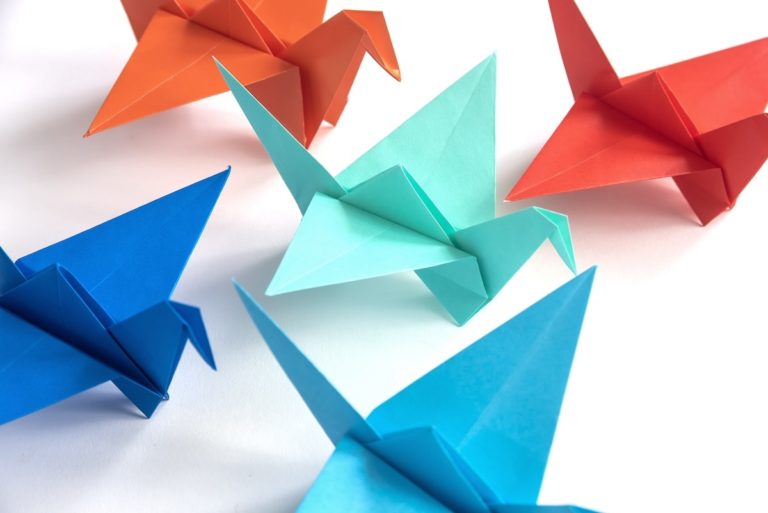
In this post, we’ll explore eight foundational paper folds that every beginner should know. These simple folds are the building blocks for countless designs, from classic cranes to more complex structures.
If you can master these folds and execute them perfectly (and I know you can), it increases the likelihood that your project is successful. The accuracy of your folding when you begin your project greatly influences the outcome.
So let’s set you up for success.
By the end of this guide, you’ll have the confidence to tackle a wide range of origami projects. Ready to fold? Let’s get started!
Beginner Origami Folds
Below I’ll walk you through eight fundamental origami folds that every beginner should know: the book fold, shawl fold, kite fold, water bomb fold, square fold, squash fold, blintz fold, and gate fold.
How To Get the Perfect Crease
For each of these folds, you’ll want a perfect crease that is flat and not wrinkled. First, it’s important to use a smooth, hard surface for your folding.
Make sure your hands are clean so you don’t stain your paper. Match up the paper and do a “soft fold” (fold gently and don’t crease) first to make sure the edges are even.
When the paper is folded evenly and you’re ready, you can crease the paper on the fold. Use your finger or a bone folder (which I personally love). Don’t drag a nail, because you risk ripping the paper – just use even pressure and you’ll crease the paper easily.
Book Fold
I love the book fold because it’s exactly as it sounds! You’re going to fold the paper like a book. This means folding it in half and creasing along the middle.

The crease down the middle defines the book fold.

Mountain and Valley Folds
Note: the book fold is also called the “valley” fold if it’s held upside down, and the “mountain” fold if the crease is on the top. So this fold actually has three names depending on the direction you face the crease!


Shawl Fold
For this next fold, you’ll be folding the paper in half on the diagonal and creasing. This is called the “shawl fold” as it looks like a woman’s shawl when complete.

Fold in half, then crease along the diagonal and open back up to reveal the fold.

Kite Fold
This is another fold that looks exactly as it’s described. Start by folding in half on the diagonal (shawl fold). With the fold running vertically, you’ll fold in both sides toward the center.

The fold is correct when the flaps meet in the middle and the finished shape looks like a kite.

Water Bomb Fold
The water bomb fold is one of my favorites! For this fold, you’ll want to end up with a completely symmetrical triangle on your surface with the sides folded in.
You’ll start by folding the paper in half on the diagonal (shawl fold). Crease and open back up, folding on the second diagonal.

Then you’re going to do a book fold both ways. Fold the paper in half, then open and repeat. Crease all folds.

With the paper still folded in half, you’re going to fold in the sides as shown below. Start with one side and push the triangle to the inside, smoothing flat. Then repeat with the other side.

Crease all folds and you’ll have a triangle of paper on your surface ready for the next step.

Square Fold
The end result of this fold will be a square of paper with the sides folded in. Start by folding the paper in half on the diagonal. Open up and repeat the other way.

Then you’re going to fold in half lengthwise (book fold). Open up and repeat the other way.

After the above folds are complete, fold the paper in half to create a triangle.

Turn the paper so the crease is at the top. Fold in both sides as shown.

Crease all of the folds and smooth to create the square.

Squash Fold
To complete the squash fold, you’ll need to first do the square fold above. Now you’re going to complete a kite fold on the front of the square. Smooth both flaps in toward the center and crease.

You can leave as is above, or you may be required to fold in the back flaps as well (depending on the project).

Blintz Fold
This is also known as the “cushion fold” as it looks (when finished) like a handmade Japanese cushion.
Begin by folding the paper in half (book fold).

Open back up and then fold the other way. Crease.

The two folds you just did give you a center point – now you’re going to fold all four corners toward the center.

Once you’ve creased all the sides, your blintz fold is complete.

Gate Fold
Let’s end the basic folds with a simple one. To complete the gate fold, start by folding the paper in half (book fold).

Then you’re going to fold each side flap in half to meet the middle flap.

The finished fold looks like a gate, with both flaps opening to the front. Crease to finish.

Now that you’ve learned all the folds, let me know what you think in the comments! Which of these was your favorite – which of these require further practice? I’d love to hear!