Origami Crane the Traditional Way
Discover the art of origami crane folding! Learn step-by-step techniques to create your own paper crane, a symbol of peace and hope.
Skills Required: None. This is great for beginners and one of the most simple paper projects you can make. Get a video at the bottom of the post showing the folds.

Hey there, fellow paper lovers! Ready to dive into a super fun and easy project that’ll not only add a touch of charm to your room but also teach you the timeless art of origami?
Today you’re going to master the classic origami crane.
Before we jump in, I want to talk a bit about why the paper crane is so important – because it’s not just a bird. In Japanese culture, the crane is of great importance and considered a mystical creature that lives for a thousand years. As such, it represents longevity and good fortune.
In folklore, cranes carry powerful symbolism and are often associated with fidelity and honor because of their monogamous nature – they mate for life, which is a revered trait in Japanese tradition.

The crane’s significance extends into spiritual and ceremonial aspects of Japanese life. It’s common in wedding ceremonies as a symbol of fidelity. The crane also represents hope and healing during challenging times, a sentiment beautifully illustrated in the post-war peace movements.
In origami, the crane is one of the most iconic and celebrated figures. Known as “Orizuru” in Japanese, it is a classic example of what can be achieved with the art of folding paper, embodying delicate balance and beauty.
The origami crane has become a symbol of peace and hope, particularly through its association with the poignant story of Sadako Sasaki, a young girl. According to popular belief, she attempted to fold a thousand cranes to wish for recovery from leukemia caused by radiation exposure from the Hiroshima atomic bombing.
Learn more about Sadako and the thousand paper cranes here.

Ready to fold up some joy with your very own origami crane? You’re about to fold your way to a beautiful creation that you’ll be proud to display, and now you know the meaning. Let’s get started!
Easy Paper Crane
Begin with a 170 mm (6.7″) square piece of paper (or size of your choice), colored on one side. The size of the paper square will determine the size of the finished crane. Mine is 130 mm length (5 1/8″) by 155 mm wide wingspan (almost 6 1/8″).
Make the Base Folds
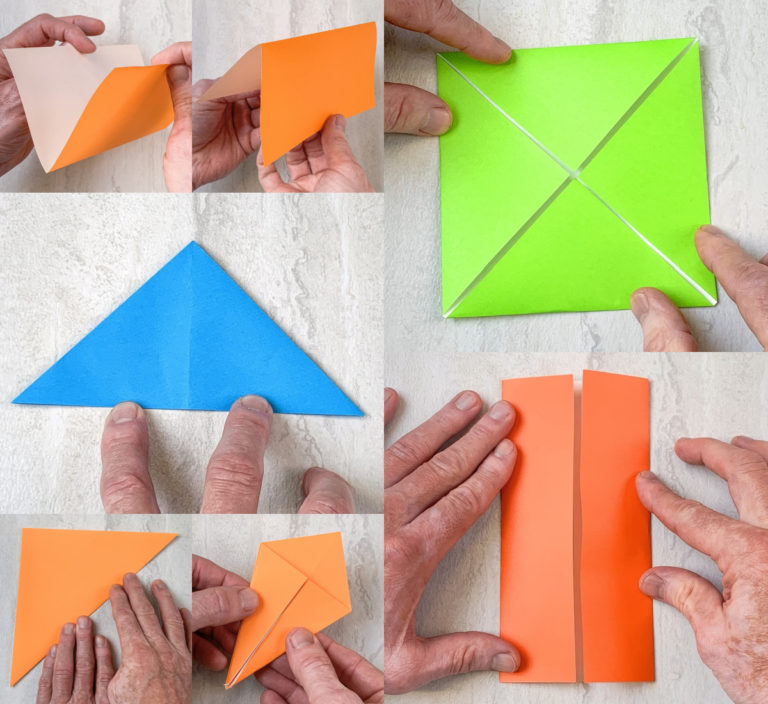
Place your paper on your surface and fold in half (with the white on the inside) to make a triangle. Rotate a half turn and fold in half again.

Turn the paper a quarter turn and repeat what you did before. Fold in half to create a square. Rotate a half turn and fold in half again.

Create the Body
Form the body by creating triangles on both sides. You’re going to push in the sides as shown below. The result will be a square with the sides pushed in.

Place the square on your work surface. Complete a kite fold on both sides of the square. Fold both side flaps in toward the center line and smooth. Then flip over and repeat.

Fold the top flap over and crease, then repeat on the other side.

Form the Wings
Now you’re going to form the wings. Starting on one side, open the flaps and then pull the ends open. You will see the side flaps start to move towards the center – you will fold them down as shown.

Flip the long diamond shape over, open the flaps, then repeat opening the end and folding down the sides. Crease with your fingers.

You need to “rearrange” the diamond by opening the flaps on one side. Then flip over and do the same.

Open the base of the diamond and fold up towards the flap. Then flip over and do the same – you’ll have a closed diamond.

Pull Out the Head and Tail
Turn the diamond over so the point is at the bottom. Fold the end up, leaving a 10 – 14 mm (about 1/3 – 1/2″) length at the top. Turn over and repeat on the other side.

The tail and head are now at the bottom. Starting on the right side, pull the head out as shown. You’ll want to smooth down the tab at the top with your fingers. Repeat on the left side with the tail.

Make the Head and Legs
Choose one end for the head. Open the end and fold in a small flap to create the head.

On the bottom you will open both sets of flaps to create the legs – these allow the crane to sit on a surface also.

Now you just have to make 999 more!

Are you ready for the video? Learn how to make an origami crane below! Then let me know what you think in the comments!
